


Table of Contents
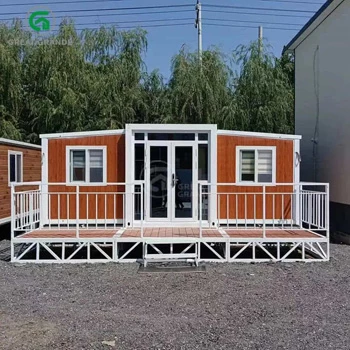
The modular construction industry has witnessed a paradigm shift with the emergence of rapid-deployment housing solutions. Among these, the Folding Container House stands out as a pinnacle of engineering efficiency, offering a blend of portability, structural integrity, and cost-effectiveness. However, the longevity and performance of these structures are heavily dependent on two critical factors: the quality of the ground preparation and the precision of the assembly process.
This guide provides a deep dive into the technical requirements for establishing a stable base and executing a flawless installation, ensuring that your modular investment remains secure for decades.
Part 1: Strategic Planning and Site Assessment
Before the modular units arrive on-site, a rigorous evaluation of the environment is mandatory. Unlike traditional permanent structures, modular units require specific accessibility and ground conditions to facilitate the mechanical unfolding process.
1.1 Soil Analysis and Load Bearing Capacity
The stability of any structure begins with the soil. You must determine the soil’s bearing capacity to decide which foundation type is appropriate.
- Granular Soils (Sand/Gravel): Excellent drainage but may require compaction.
- Cohesive Soils (Clay): Prone to expansion and contraction; requires specialized foundation depths.
- Organic Soils: Generally unsuitable without significant remediation.
1.2 Topography and Grading
A level site is non-negotiable. Even a 1% slope can lead to structural misalignment during the unfolding phase, causing doors to stick or seals to fail. Professional grading should ensure that water is directed away from the structure to prevent “ponding” around the foundation.
Part 2: Critical Steps for Container House Site Preparation
Proper container house site preparation is the most significant phase of the project. It involves more than just clearing debris; it is about creating a controlled environment where the modular unit can function as intended.
2.1 Clearing and Excavation
Begin by removing all vegetation, large rocks, and organic topsoil. The area should be excavated to a depth that allows for a stable sub-base (usually 150mm to 300mm of compacted gravel).
2.2 Drainage Systems
To ensure long-term durability, implement a perimeter drainage system. This might include:
- French Drains: Perforated pipes surrounded by gravel to redirect groundwater.
- Swales: Shallow channels to manage surface runoff.
- Vapor Barriers: Essential for preventing moisture from rising through the ground into the chassis of the house.
2.3 Utility Rough-ins
Coordinate with licensed contractors to bring electricity, water, and sewage lines to the site before the foundation is finalized. The “stub-up” locations must be precise, matching the layout of the specific model you have purchased.
| Feature | Requirement | Importance |
| Leveling Accuracy | Max deviation of 5mm across the footprint | Prevents frame torque and alignment issues |
| Drainage Slope | Minimum 2% away from the house | Prevents foundation erosion and rust |
| Access Clearance | 5 meters width for delivery vehicles | Ensures the crane or forklift can maneuver |
| Compaction | 95% Modified Proctor Density | Prevents settling and structural cracks |
Part 3: Selecting the Ideal Foundation Type
The foundation serves as the interface between the earth and the steel frame. Depending on your budget and the permanence of the installation, several options are available.
3.1 Concrete Slab Foundation
The most robust option, ideal for permanent residences. A 100mm-150mm reinforced concrete slab provides a uniform surface and excellent protection against rodents and moisture.
3.2 Concrete Piers (Point Foundation)
Cost-effective and ideal for temporary or semi-permanent setups. Piers are placed at the corners and along the long edges of the frame. This allows for airflow under the unit, which is beneficial in humid climates.
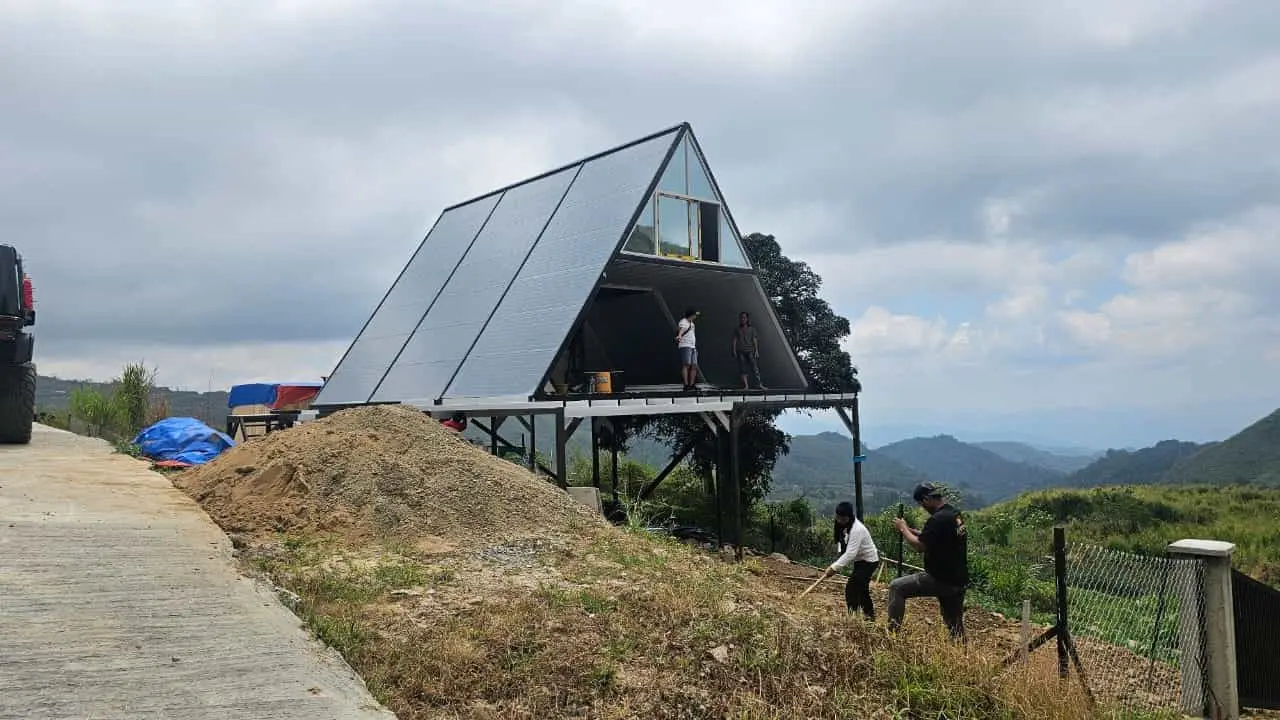
3.3 Helical Screws (Screw Piles)
A modern, eco-friendly solution that requires no concrete. These are screwed deep into the ground until they reach stable soil. They are perfect for uneven terrain or sites where excavation is restricted.
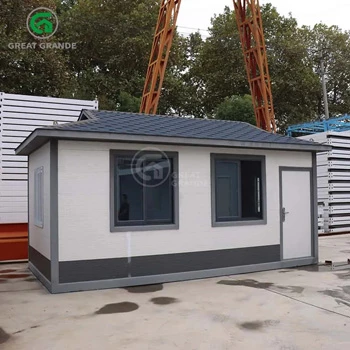
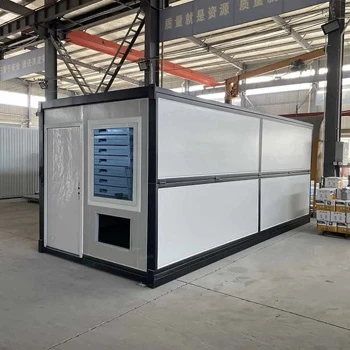
Part 4: The Prefab Container House Installation Guide
Once the site is ready, the actual deployment begins. Following a strict prefab container house installation guide is vital to ensure safety and structural compliance.
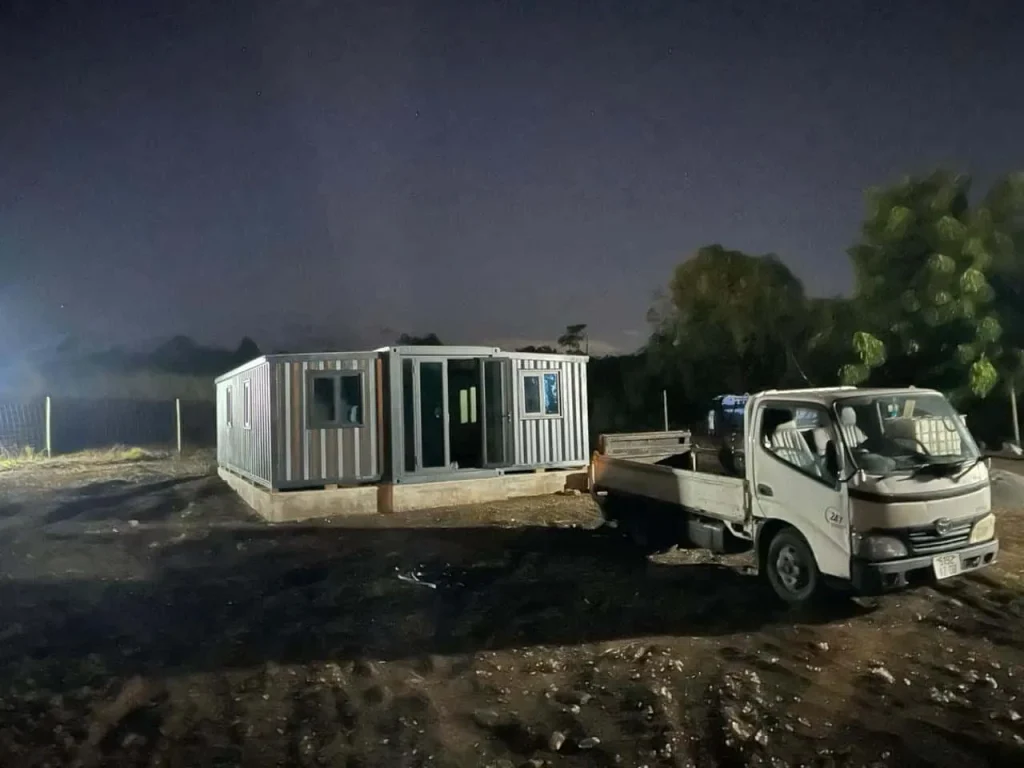
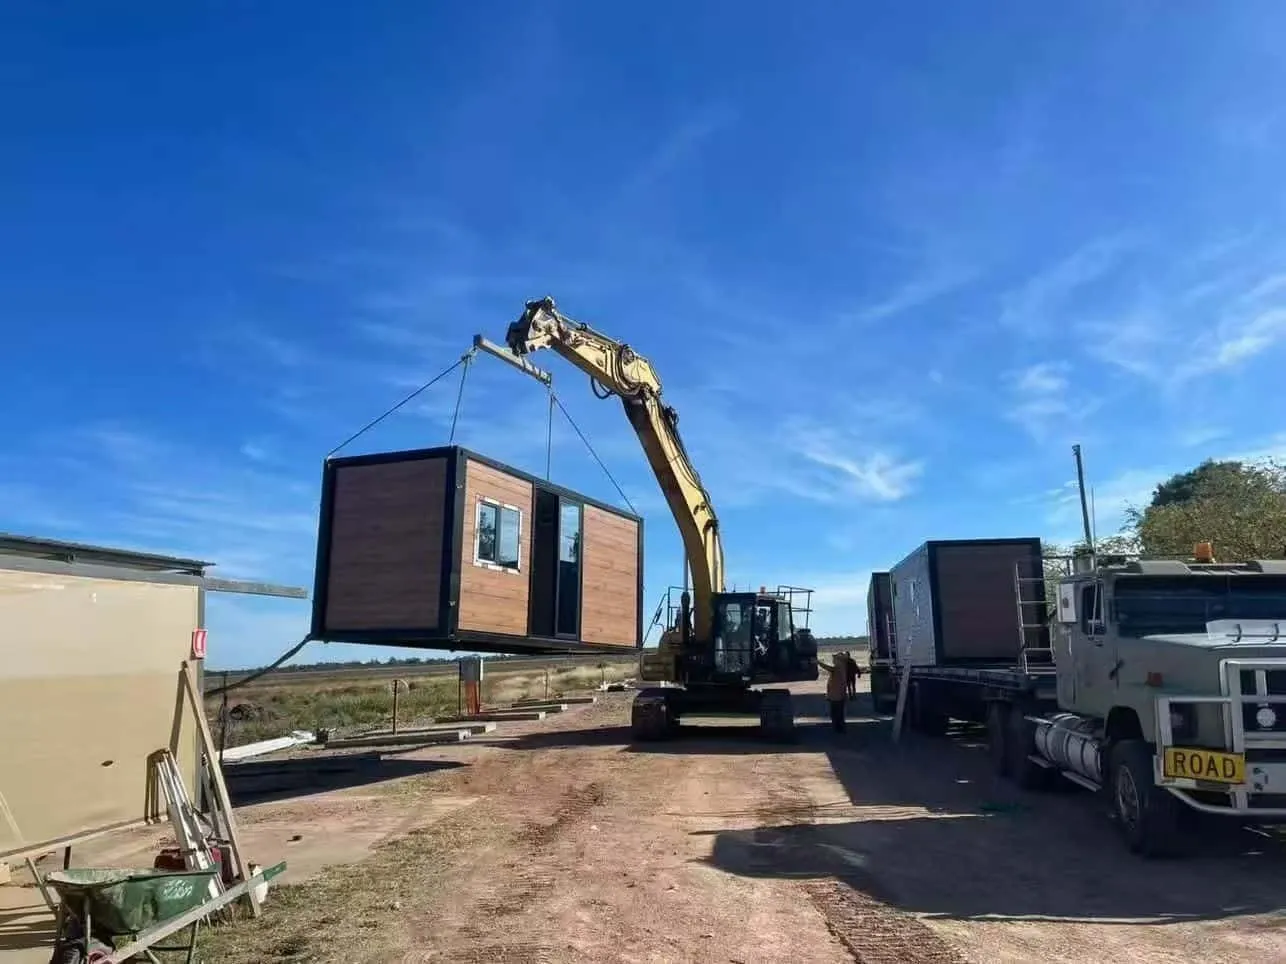
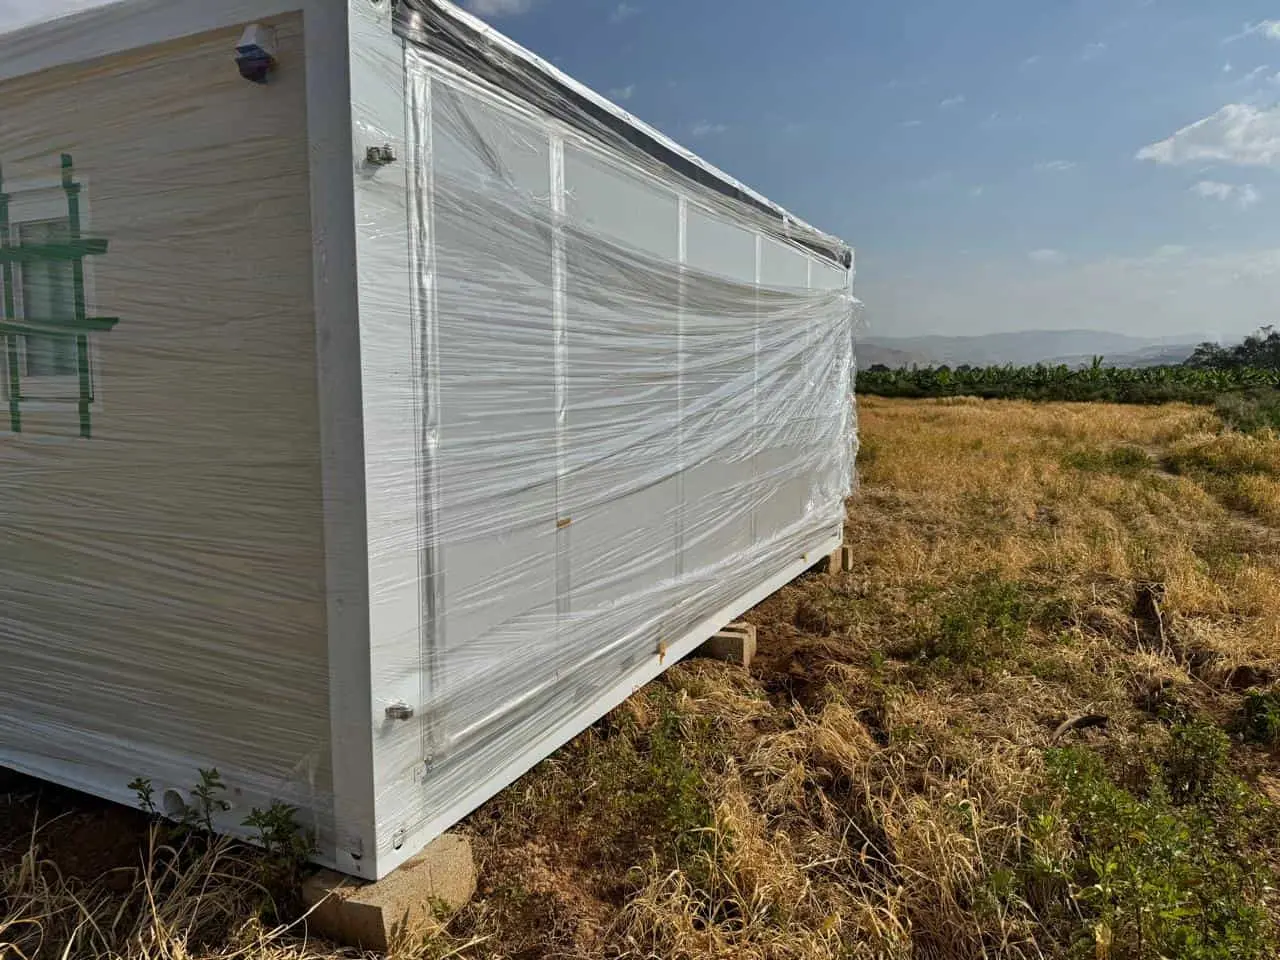
Phase A: Delivery and Positioning
The unit is typically delivered on a flatbed truck. Using a crane or a high-capacity forklift, the folded unit is placed onto the prepared foundation. Accuracy at this stage saves hours of adjustment later.
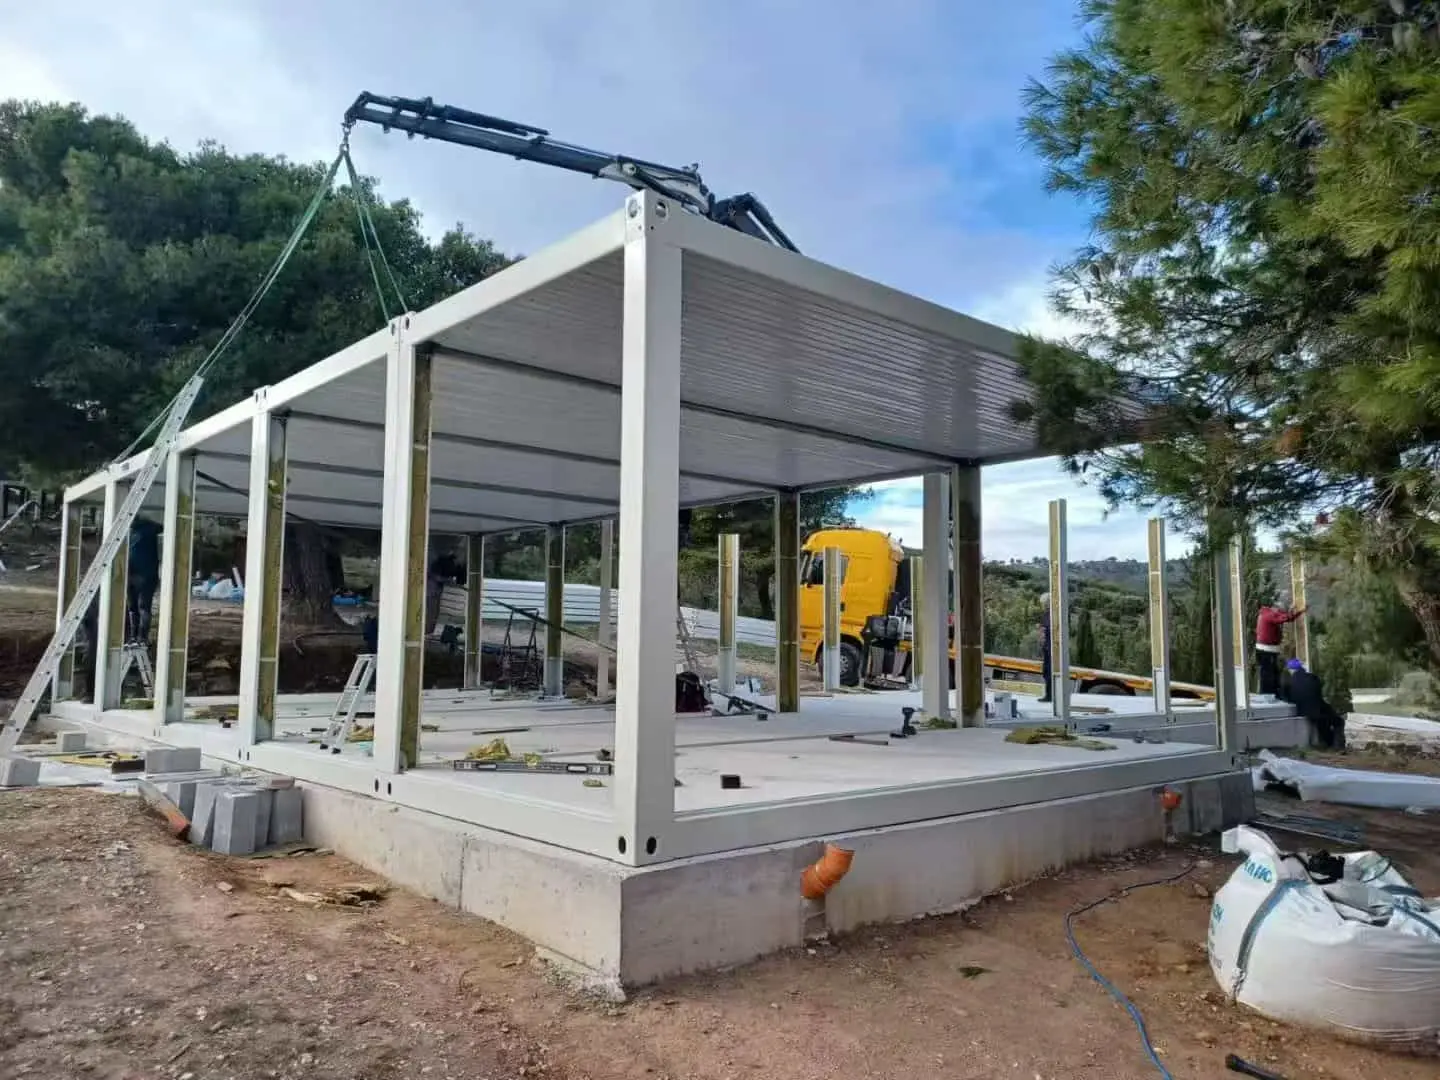
Phase B: The Unfolding Process
- Lifting the Roof: The central roof section is raised using the integrated lifting eyes.
- Expanding the Walls: Side walls are extended outward. Ensure that all hinges move freely and that no debris is caught in the joints.
- Locking the Floor: The floor panels are lowered into position and secured to the main chassis.
Phase C: Structural Securing
After unfolding, the structure must be bolted to the foundation. For concrete slabs, expansion bolts are used; for piers, heavy-duty brackets are required. This ensures the unit can withstand high wind loads and seismic activity.
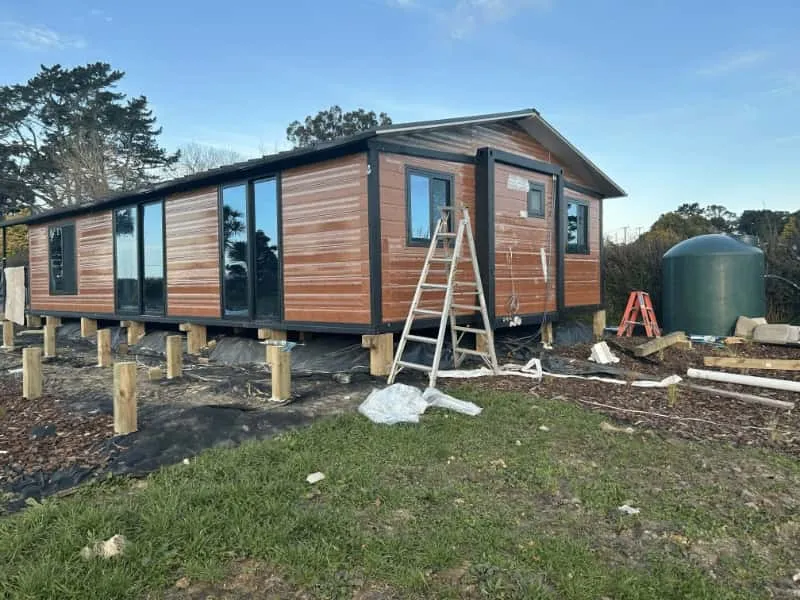
Phase D: Weatherproofing and Sealing
Modular units rely on high-quality gaskets and silicone sealants.
- Check all exterior joints: Apply weather-grade sealant to any gaps.
- Install trim pieces: These provide an extra layer of protection and an aesthetic finish to the corners and rooflines.
Part 5: Post-Installation Safety Checklist
Before moving in, conduct a final walkthrough to verify the integrity of the build.
- Door and Window Operation: Do they swing freely without hitting the frame?
- Electrical Grounding: Is the system properly grounded to the earth?
- Watertight Test: Use a hose to simulate heavy rain and check for leaks around the roof panels and windows.
- Leveling Verification: Re-check the floor level; ground settling can occur immediately after the weight of the house is applied.
Part 6: Long-Term Maintenance and Sustainability
To maximize the lifespan of your Folding Container House, regular maintenance is required. This includes inspecting the paint for scratches (to prevent rust), cleaning the drainage gutters, and checking the integrity of the foundation every six months.
Effective container house site preparation pays dividends in the long run, as it prevents the most common issues associated with modular living: uneven floors and moisture intrusion. By investing time in the foundation now, you ensure a comfortable and safe environment for the future.
FAQ
1. Can a folding container house be installed on uneven ground?
Technically, it can, but it requires a specialized foundation like helical piles or adjustable concrete piers. You should never place the unit directly on uneven soil without a leveling system, as this will cause the steel frame to warp, leading to structural failure and leaking.
2. How long does the installation process take from delivery to move-in?
Once the site preparation is complete, the mechanical unfolding of the house usually takes between 15 to 60 minutes with a professional team. However, finishing work—such as utility hookups, interior trim, and weather sealing—typically takes another 1 to 2 days before the unit is fully habitable.
3. Where can I find a detailed prefab container house installation guide for my specific model?
Most reputable manufacturers provide a model-specific manual upon purchase. It is crucial to follow the manufacturer’s documentation regarding lifting points and bolt torque specifications, as these vary based on the weight and dimensions of the specific unit. Always consult with a structural engineer if you are planning a multi-unit configuration.